Your profile photo appears next to everything you do online: LinkedIn posts, emails, comments, reviews, speaker pages and team pages. People form impressions from faces very quickly, so a clear, friendly, professional photo is one of the highest-value personal branding assets you can create, and it does not require a studio.
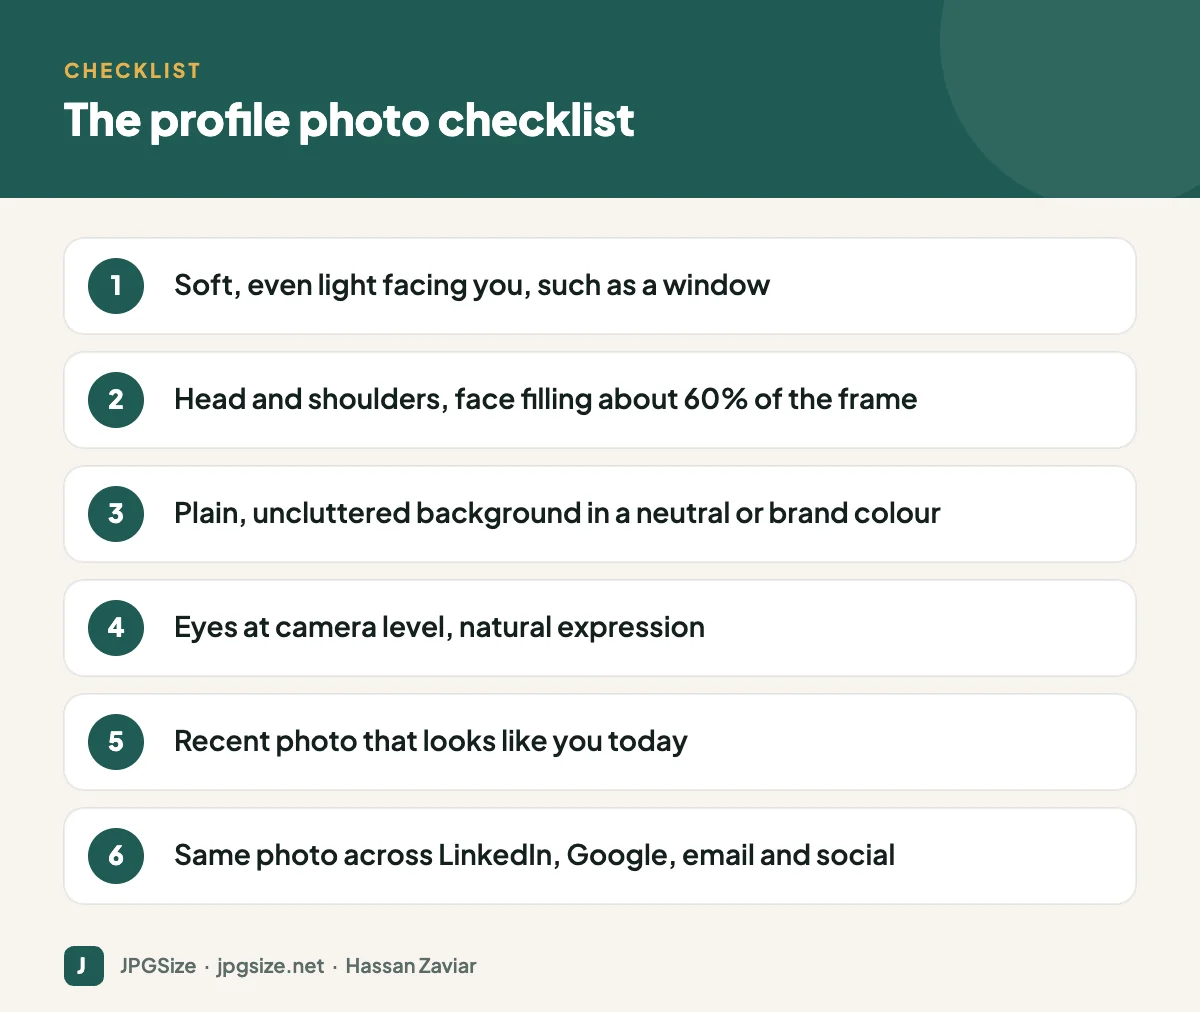
Quick answer: A strong professional profile photo is a recent head-and-shoulders shot in soft, even light (a window works well), with your face filling most of the frame, a plain background, eyes at camera level and a natural expression. Crop it square with your face centred for circular displays, export it at around 400 x 400 pixels or larger, and use the same photo across your professional profiles.
Why your profile photo matters
- Recognition: a consistent photo helps people recognise you across LinkedIn, email, events and social media.
- Trust: a clear, current photo signals that you are a real, approachable professional. For websites, real team photos also support E-E-A-T.
- Engagement: profiles with a professional photo tend to receive more views and connection requests than those without.
How to take a professional photo with your phone
Light
Stand facing a large window with indirect daylight, so light falls evenly on your face. Avoid direct midday sun, overhead lights that cast shadows under your eyes, and backlight from a window behind you. On a cloudy day outdoors, open shade is ideal.
Camera position
Use the rear camera if someone can help, as it is usually higher quality; otherwise use a timer and a tripod. Keep the camera at eye level or slightly above, about one to two metres away, and use the standard (1x or 2x) lens, not ultra-wide, to avoid distorting facial features.
Framing
Frame from the top of your head to the middle of your chest, with your face filling roughly 60% of the final square crop. Leave a little space above your head.
Background
Choose a plain wall, a softly blurred outdoor background, or a tidy workspace relevant to your field. Avoid clutter, strong patterns and anything distracting behind your head.
Clothing and expression
Wear what you would wear to meet a client in your field, in solid colours that contrast with the background. Relax your shoulders, turn your body slightly and your face towards the camera, and think of something that makes you genuinely smile. Take many shots and choose the most natural.
Editing: keep it natural
Light editing is fine: straighten, crop, adjust exposure and white balance, and remove a temporary blemish. Avoid heavy smoothing, face-reshaping filters or dramatic colour grading. The goal is that people recognise you when they meet you or join a video call.
If your background is distracting, AI background removal can replace it with a neutral colour; see AI background removal for how to get clean edges around hair.
What about AI-generated headshots?
AI headshot services can turn a set of selfies into polished portraits. They can be convenient, but results sometimes change facial features, skin tone or age, and a photo that does not look like you undermines trust when people meet you. If you use one, choose results that are faithful to your real appearance. For more on the risks, read how to spot AI-generated images. Never use AI-generated or AI-enhanced images for official documents.
Sizes for each platform
| Platform | Recommended size | Notes |
|---|---|---|
| 400 x 400 px or larger | Displayed as a circle; up to 8 MB | |
| 320 x 320 px or larger | Small circle; keep face centred | |
| 320 x 320 px or larger | Circle crop | |
| X | 400 x 400 px | Circle crop |
| YouTube | 800 x 800 px | Small circle |
| Google Account and Gmail | Square, 250 px or larger | Shown in email and Google services |
Export once at around 800 x 800 pixels and use it everywhere; platforms scale it down. Use our resize image in pixels tool for exact dimensions and see LinkedIn image sizes and the social media image sizes cheat sheet for banners and covers.
Profile photos vs official photos
A branding photo is not the same as a passport or application photo. Official photos have strict rules on background colour, head size, expression, dimensions and file size, and they must not be digitally altered. If you need one, follow the specific requirements; our passport size photo tool and guides to passport photo dimensions and why forms reject photos explain what portals expect.
Keep it consistent and current
Use the same photo across LinkedIn, your email signature, your website’s team or author page, conference bios and professional social accounts. Update it every few years, or sooner if your appearance changes significantly. Consistency makes you easier to recognise and connects your profiles into one professional identity, the personal version of a visual brand identity.
Common profile photo mistakes
- Cropped group or party photos, where part of someone else’s shoulder is visible.
- Sunglasses, hats or heavy shadows hiding your eyes.
- Photos that are too far away, so your face is tiny inside the circle.
- Very old photos that no longer look like you.
- Heavy filters and beauty modes that change your features.
- Low resolution images that look blurry on high-density screens.
- Busy backgrounds that compete with your face at small sizes.
A 20-minute DIY headshot session
- Choose a spot facing a large window, with a plain wall behind you.
- Put your phone on a tripod or stack of books at eye level, about 1.5 metres away, and use the 2x lens if available.
- Set a 3-second timer with burst mode, or ask a friend to take the photos.
- Take 30 to 50 shots, adjusting your angle and expression between sets.
- Pick your three favourites and ask a colleague which looks most like you on a good day.
- Crop to a square with your face centred, adjust brightness lightly and export at 800 x 800 pixels.
- Upload to LinkedIn and your other profiles on the same day so everything matches.
Repeat the session every couple of years, or whenever you change your look, so your photo stays current.
Frequently asked questions
What makes a good professional profile photo?
A recent, well-lit, head-and-shoulders photo with a plain background, a natural expression and your face filling most of the frame.
Can I take a professional headshot with my phone?
Yes. Use soft window light, the standard lens at eye level, a plain background and a timer or a helper. Modern phones produce excellent results in good light.
What size should a LinkedIn profile photo be?
At least 400 x 400 pixels, square, up to 8 MB. Centre your face because it is displayed as a circle.
Should I use an AI headshot generator?
Only if the result looks accurately like you. Photos that alter your appearance can undermine trust, and they must never be used for official documents.
Sources and further reading
About the author: Hassan Zaviar writes about image optimization, SEO, AI and digital marketing for JPGSize and works on the site’s free browser-based image tools. Last reviewed: 24 September 2026. Spotted something out of date? Tell us and we will update it.