Professional product photography with styled lifestyle scenes can cost more than a small online shop earns in a month. AI tools now let you take one good photo of a product and place it into many realistic scenes: a kitchen counter, a beach, a studio set with seasonal props. Done well, it looks professional and costs a fraction of a shoot. Done badly, it misrepresents the product and erodes trust.
Quick answer: The most reliable AI product photography workflow is hybrid: photograph the real product on a plain background, remove the background, then use AI to generate the scene, lighting and shadows around the unaltered product. Check that colours, logos, size and details still match the real item, and export the right formats and sizes for your store, marketplaces and ads.
Why the hybrid approach works best
You could ask an image generator to create “a tan leather laptop bag on an oak desk” from scratch, but the result will be a bag, not your bag. Stitching, hardware, proportions and logos will differ. Using that image to sell your product would mislead customers and may breach marketplace rules and consumer protection law.
Keeping the real product pixels and generating only the environment gives you the creative flexibility of AI with the accuracy of photography.
Step 1: Shoot a strong base photo
Everything depends on this photo. You do not need a studio:
- Light: a large window with indirect daylight, or two inexpensive LED panels with diffusers. Avoid harsh direct sun and mixed light sources.
- Background: plain white or light grey paper or card, with space around the product.
- Camera: a recent smartphone is fine. Use the main lens (not ultra-wide), lock focus and exposure, and keep the phone steady.
- Angles: shoot the angle you want in the final scene. AI scenes look most convincing when the camera angle suits the setting, for example a slight top-down angle for products on a table.
- Resolution: at least 2000 pixels on the long side, so you have room to crop.
Step 2: Remove the background cleanly
Use an AI background remover and inspect the edges at full zoom, particularly around straps, handles, transparent parts and soft materials. Our guide to AI background removal covers techniques for clean cutouts and halos.
Step 3: Generate the scene
Most AI product photo tools let you upload the cutout and describe or choose a scene. Tips for better results:
- Describe the setting, surface, lighting direction, time of day, props and mood: “on a light oak desk beside a closed laptop and a ceramic coffee cup, soft morning light from the left, shallow depth of field”.
- Keep props relevant to the buyer’s life and your brand; avoid clutter that distracts from the product.
- Generate several variations and choose the most realistic.
- For consistency across a catalogue, reuse the same scene description and style settings.
For writing better scene prompts, see prompt engineering for marketers.
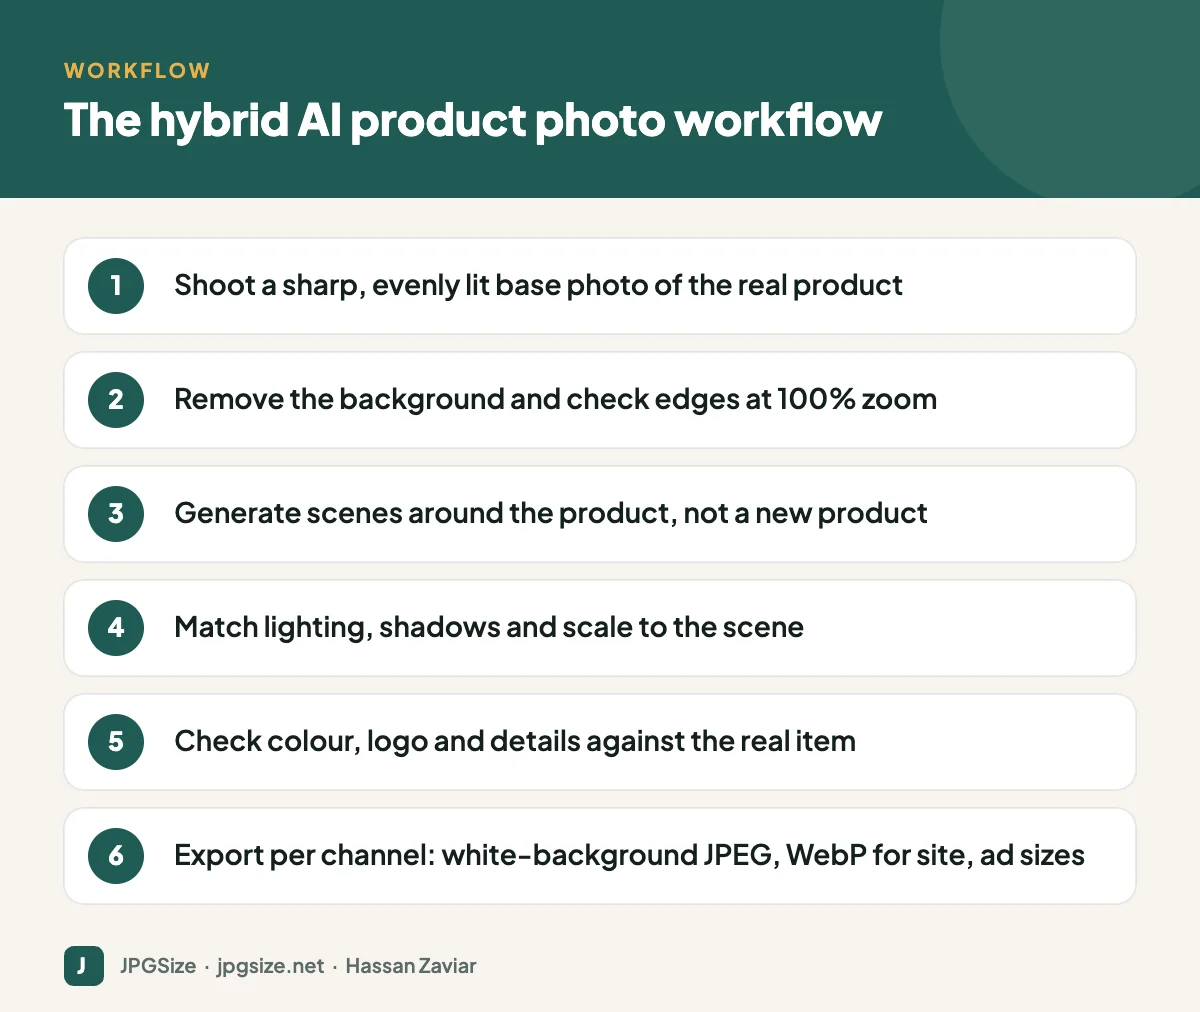
Step 4: Fix lighting, shadows and scale
The most common giveaway of an AI composite is a product that does not sit in the scene: light from the wrong direction, no contact shadow, or a product that looks too big or too small next to props. Most tools can generate shadows and relight the product; check that the result matches the scene. Compare against a real photo of the product in a similar setting if you are unsure about scale.
Step 5: Verify accuracy
Before publishing, compare the final image to the real product:
- Is the colour accurate under neutral light? Colour differences are a leading cause of returns in fashion and home goods.
- Are logos, labels and text unchanged and readable?
- Has the tool altered shape, texture or details during relighting or upscaling?
- Are props clearly props and not implied to be included in the purchase?
If the product was altered, go back to the cutout and try again, or retouch manually.
Step 6: Export for each channel
| Channel | Typical requirement | Format |
|---|---|---|
| Marketplace main image | Product on pure white background, product filling most of the frame | JPEG |
| Your online store | Square or 4:5 images, consistent size across the catalogue | WebP or AVIF, JPEG fallback |
| Instagram and Facebook | 4:5 or 1:1 feed posts, 9:16 stories | High-quality JPEG |
| Google Ads and Performance Max | 1.91:1, 1:1 and 4:5 image assets | JPEG or PNG |
See product image optimization, social media image sizes and Google Ads image sizes for exact dimensions. Compress website images with the JPG compressor and resize with the pixel resizer.
Where AI product photos are not appropriate
- Main listing images on marketplaces that require real photographs on white backgrounds with no added elements. Check each marketplace’s rules.
- Products where texture and fit are the decision, such as clothing on a body. Virtual try-on is improving but can misrepresent fit.
- Food, cosmetics and results-based products where an idealised image can mislead.
Disclosure and trust
Many shoppers do not mind styled scenes as long as the product is shown accurately. Some platforms label AI-generated or AI-edited images, and some ad policies require disclosure for realistic synthetic content. When in doubt, be transparent. For the legal background, read can you use AI-generated images commercially.
How much can you save?
The economics depend on your catalogue. A traditional lifestyle shoot involves a photographer, a stylist, props, a location and editing, and each new season means doing it again. With the hybrid AI approach, the main cost is a simple home setup for base photos, a subscription to an AI product photo tool and the time to review results. For shops with many products or frequent seasonal campaigns, the saving can be substantial, and you can test more creative variations in ads to see what actually converts.
It is still worth investing in a professional shoot for your hero products and brand campaign images. Use AI to extend that work across the rest of the catalogue and the many formats each channel requires.
Frequently asked questions
Can AI replace product photography?
It can replace expensive lifestyle shoots for many products, but you still need a real, accurate photo of the product. The hybrid approach keeps the product real and uses AI for the scene.
Is it allowed to use AI product images on marketplaces?
Rules vary. Main images often must be real photos on a white background. AI-generated lifestyle images may be allowed as secondary images if they represent the product accurately. Check each marketplace’s image policy.
What is the best background for AI product photos?
Shoot on a plain white or light grey background with even light. It gives the cleanest cutout and the most flexibility for generating new scenes.
How do I keep AI product images consistent?
Shoot every product with the same setup, reuse the same scene prompts and style settings, and export all images at the same dimensions and product-to-frame ratio.
Sources and further reading
About the author: Hassan Zaviar writes about image optimization, SEO, AI and digital marketing for JPGSize and works on the site’s free browser-based image tools. Last reviewed: 24 September 2026. Spotted something out of date? Tell us and we will update it.